
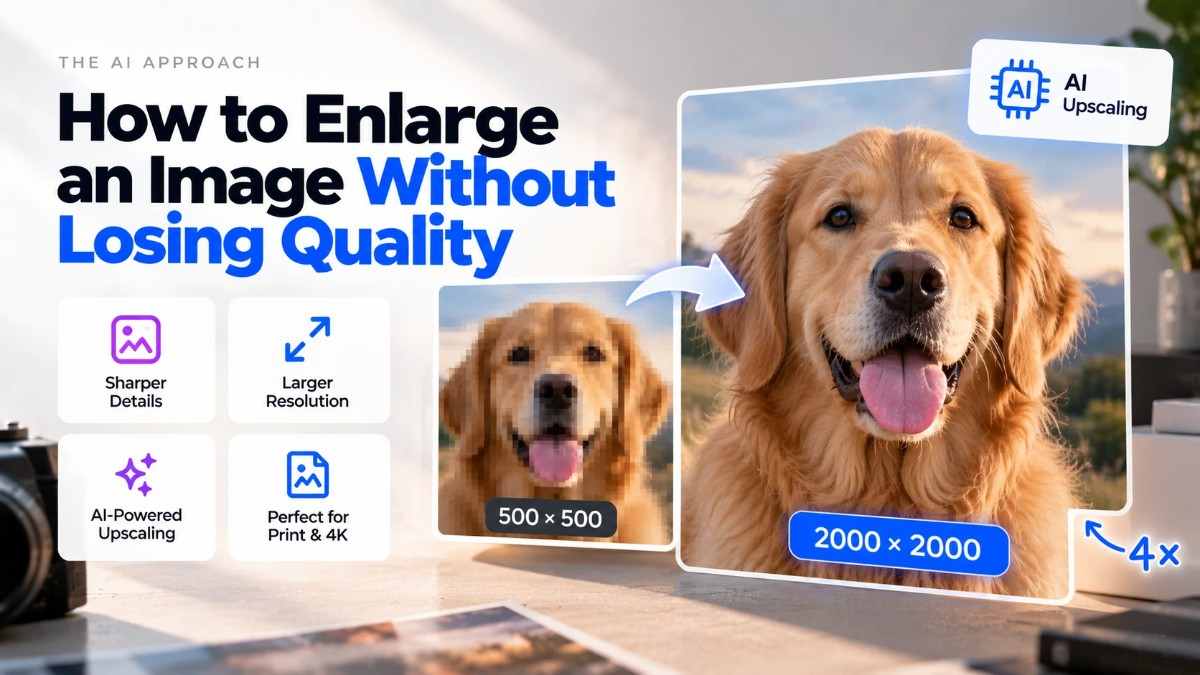
How to Enlarge an Image Without Losing Quality: The AI Approach
Enlarging an image used to be a losing proposition. Every time you scaled up, the software stretched the existing pixels — and the result was a blurrier, softer version of what you started with. The more you enlarged, the worse it looked. That tradeoff made image enlargement a last resort rather than a practical tool.
AI upscaling changes the equation. Instead of stretching pixels, AI models analyze the image and generate new pixel data — filling in the detail that a traditional resize cannot produce. The result is a larger image that looks sharper than a simple interpolation, often significantly so. This guide covers how the approach works, when it makes a real difference, and how to apply it.
Why Traditional Enlargement Loses Quality
The core problem with standard image enlargement is mathematical. A 500x500 pixel image contains 250,000 pixels. Doubling it to 1000x1000 requires 1,000,000 pixels — four times as many. Traditional algorithms fill the gap by interpolating: they estimate what the new pixels should look like based on their neighbors. The most common methods are:
|
Method |
How It Works |
Result |
|
Nearest-neighbor |
Copies the closest existing pixel |
Blocky, pixelated edges — fast but poor quality |
|
Bilinear |
Averages between 4 nearest pixels |
Smoother than nearest-neighbor, but blurry at large scales |
|
Bicubic |
Averages between 16 nearest pixels |
Better sharpness, still noticeably soft at 2x or more |
|
Lanczos |
Weighted sampling across a wider area |
Best traditional method, but still limited by available data |
None of these methods can add information that wasn't in the original image. They can only redistribute and blend what's already there. The result looks soft because it is soft — the algorithm has no basis for inventing fine detail.
How AI Upscaling Produces Different Results
AI upscaling works from a different starting point. Rather than interpolating between existing pixels, it uses a neural network trained on millions of image pairs — low-resolution and high-resolution versions of the same content. The network learns the relationship between coarse detail and fine texture: what a fabric weave looks like at full resolution, how hair strands resolve when given more pixels, what building edges look like sharply rendered versus blurred.
When given a low-resolution input, the AI doesn't average — it predicts. It asks what the fine detail in this area would look like at higher resolution based on everything it's learned about similar images, and it fills in those pixels accordingly. The difference is visible in areas with fine texture: fabric, hair, foliage, text, and product details that interpolation leaves blurry typically show clearly reconstructed detail after AI upscaling.
This is also why the quality difference varies by image type. Photos with genuine fine detail benefit most. Flat-color graphics with sharp vector-style edges benefit least — there's no texture to reconstruct. For those, traditional methods work almost as well.
What Scale Factor to Choose
AI upscaling tools typically offer 2x and 4x scale factors. Choosing the right one depends on the gap between your source resolution and your target output.
|
Source Image |
Target Use |
Recommended Scale |
|
1920x1080 (Full HD) |
4K display or digital signage |
2x → 3840x2160 |
|
1000x1000 product photo |
Marketplace zoom (1600px min) |
2x → 2000x2000 |
|
500x500 supplier photo |
Amazon/Etsy listing with zoom |
4x → 2000x2000 |
|
4000x3000 phone photo |
A2 poster or large print |
2x → 8000x6000 |
|
800x600 cropped image |
Standard web or print use |
2x → 1600x1200 |
|
Scanned 4x6 print at 300 DPI |
Large-format reprint or archiving |
4x → high-resolution archive |
As a rule: if your source is already at a reasonable resolution and you need a moderate boost, 2x is usually right. If the source is small — under 800 pixels on the short side — 4x gives you the room you need for most print and display applications.
When AI Upscaling Works Well
The best results come from images where the original has real content to reconstruct. AI performs particularly well on:
- Product photos with texture — fabric, leather, ceramics, packaging with fine print
- Portrait and people photos where hair and skin texture show clearly at higher resolution
- Architectural and landscape photos with natural texture in surfaces and foliage
- Old or scanned photos where resolution was limited by the original capture technology
- Cropped images where tight framing reduced pixel count from an otherwise good source
When to Manage Expectations
AI upscaling improves almost any low-resolution photo, but some inputs produce limited results:
- Heavily blurred or out-of-focus photos — upscaling makes them larger but doesn't restore focus
- Images with significant JPEG compression artifacts — these can become more visible at larger scale; always use the best-quality source available
- Flat graphics, screenshots, and UI elements — traditional resizing often works just as well for these
- Very small images (under 200x200 pixels) — there's limited information for the AI to work with; results are better than interpolation but may not meet high-quality output requirements
Step-by-Step: How to Enlarge an Image Without Losing Quality
The process takes under a minute using a browser-based AI upscaler:
- Step 1 — Start with the best source available. If you have multiple versions of the image (different sizes, formats, compression levels), use the largest and least-compressed one. JPEG artifacts compound when upscaled; PNG or uncompressed JPEG is preferable.
- Step 2 — Upload your image. Go to phototune.ai and open the AI upscaler. Drag and drop your file or click to browse. The tool accepts JPG, PNG, and WEBP.
- Step 3 — Choose your scale. Select 2x for moderate enlargement (when the image is already a reasonable size and needs a boost) or 4x for significant enlargement (when the source is small or heavily cropped). The target output dimensions are shown before you process.
- Step 4 — Download and check. After processing, download the result and verify it at full size. Check fine-detail areas — edges, textures, text — at 100% zoom to confirm the quality meets your needs.
Phototune.ai's upscaler is built specifically to enlarge image without losing quality — it processes uploads in seconds, works in any browser without sign-up, and returns the full-resolution result ready to use.
A Note on File Size After Upscaling
AI-upscaled images are significantly larger in file size than their sources. A 500KB product photo at 500x500 pixels may become a 5–10MB file after a 4x upscale to 2000x2000. This is expected and correct — the file contains four times as many pixels in each dimension, which means sixteen times the pixel data.
For web use, you'll typically want to compress the output image after upscaling — using a tool like Squoosh or your CMS's built-in optimization — to balance visual quality against page load speed. For print and archiving, keep the full uncompressed file.
Click Here for More Science & Technology